Create Office |
  
|
Create Office |
|
To create a new office:
1.After logging in, the next screen to come up is the Offices and Departments screen. You can also access this screen after selecting and office and then clicking on the Office menu at the top of the screen and then clicking on Create/Change - Offices/Departments
2.You must have permission to create an office. If you do not, the Create Office button will have gray text. If this is the case, you will have to either be given permissions by your Administrator or you will have to have your Administrator create the office. To learn more about managing offices, permissions, and users, see the Administration help page.
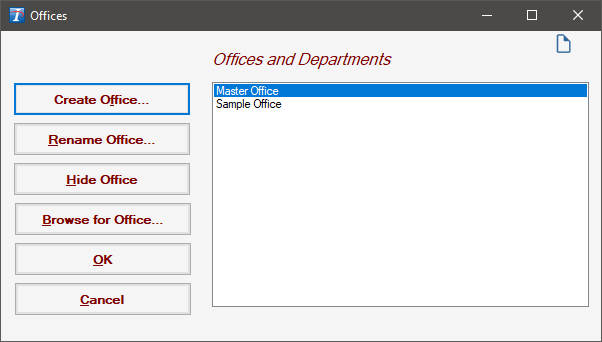
3.Click Create Office. The Office Management screen will come up.
4.Fill in the necessary information and click OK. The Office Management screen disappears.
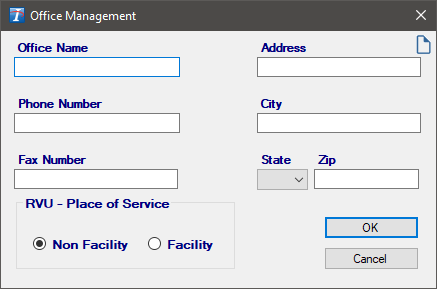
5.To begin using this office, click the office name on the Offices and Departments screen and click OK.
6.When using a Windows Login, you may be prompted to configure permissions if your permissions have been granted by multiple methods, e.g., granted directly to you and to a group where you are a member. If this happens, check the boxes for the appropriate user or groups, then click OK to finish creating the office.

Copyright © 1998-2026 Technology Solutions, Inc. All rights reserved.
INTELICODE® is a registered trademark of Technology Solutions, Inc. (TSI). All Rights Reserved.